Once you have your tools ready, it’s time to find a workspace. A garage, shed, or designated area in your home can be perfect for setting up your woodworking shop. Make sure it’s a place where you can work comfortably and safely, with good ventilation and enough light. Organizing your workspace will help you work efficiently and keep your tools in good condition.
Next, start small with beginner-friendly projects. There are plenty of free plans available online for items like shelves, stools, or picture frames. These projects will help you learn basic woodworking techniques such as cutting, sanding, and assembling. Don’t be afraid to make mistakes—every skilled woodworker began as a beginner and learned from their experiences.
Finally, consider joining a woodworking community, either online or in your local area. This can be a fantastic way to connect with others, share tips, and get inspired by different projects. You’ll find many resources, such as videos and forums, that can guide you along the way. Remember, the journey of woodworking is about enjoying the process, honing your skills, and creating beautiful pieces with your own hands.
Essential Tools for Woodworking Success
When diving into the world of woodworking, having the right tools can make all the difference in your success and enjoyment. Whether you're a beginner or looking to upgrade your workshop, here are some essential tools that will help you achieve your woodworking goals.
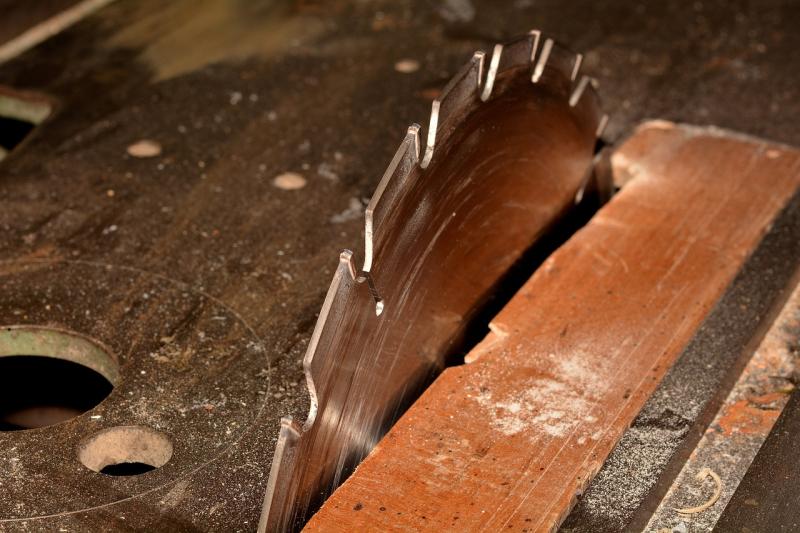
First on the list is a good quality table saw. This versatile machine allows you to make accurate cuts for a variety of projects. From ripping lumber to making crosscuts, a table saw provides the precision you need. If you're short on space, consider a portable table saw. It can easily be stored away when not in use but still delivers the performance you need for your projects.
Another critical tool is a router. This handy device allows you to shape edges, create grooves, and add decorative elements to your wood pieces. With a variety of bits available, you can expand your creativity significantly. A router table can also enhance stability and accuracy for larger projects.
Don’t forget about your measuring tools! A reliable tape measure and a good square are vital for achieving precise measurements and ensuring your cuts are square. Remember, the foundation of any successful woodworking project is accurate measurements, so invest in high-quality measuring tools to set you up for success.
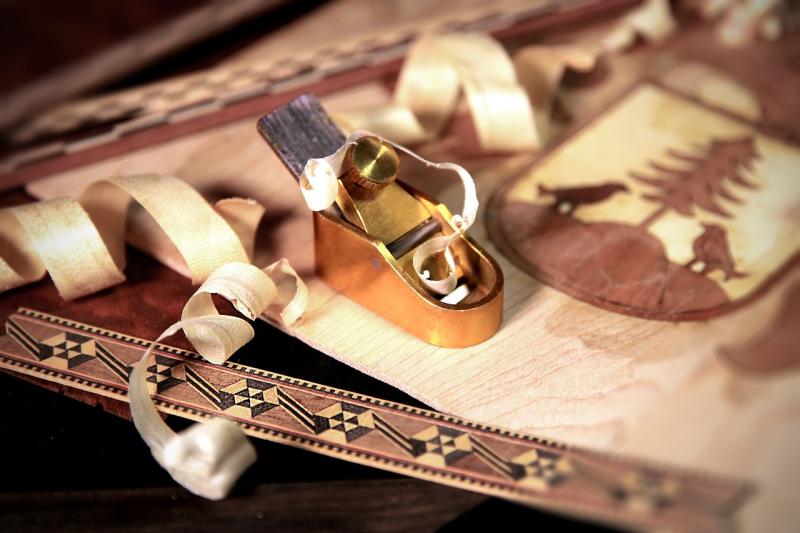
Lastly, consider adding a set of hand tools to your collection. While power tools are essential, hand tools like chisels and hand saws provide a level of control and finesse that machines can’t replicate. They are also perfect for fine detailing and joinery work. Starting with a few essential hand tools can enhance your skills and build your confidence as you grow in your woodworking journey.
Techniques for Perfect Cuts and Joints
When it comes to woodworking, making perfect cuts and joints is essential for creating strong, beautiful projects. One of the most fundamental techniques is ensuring your measurements are accurate. Always measure twice and cut once to avoid any costly mistakes. Using a high-quality measuring tape or a digital caliper can help you achieve precise dimensions.
Another effective technique is using sharp tools. Dull blades can cause splintering and uneven cuts, so make it a habit to regularly sharpen your saws and chisels. For joins, consider using a table saw or a miter saw, which can provide clean, straight cuts. A router with a guide can help you create smooth edges and dado joints for added stability.
When it comes to assembling your project, selecting the right joinery technique is critical. Mortise and tenon joints offer exceptional strength for furniture, while dovetail joints are perfect for drawers, providing both strength and visual appeal. For simpler projects, butt joints reinforced with glue or screws can work, but always bear in mind that the type of joint should match the project’s requirements.
Finally, practice is key. Try making sample cuts and joints on scrap wood before diving into your main project. This not only helps to refine your skills but also allows you to experiment with different techniques and tools. With patience and practice, you’ll master the art of perfect cuts and joints, paving the way for stunning woodworking creations.
Finishing Touches for a Beautiful Project
Once you’ve completed the main structure of your woodworking project, it’s time to add the finishing touches that will elevate your work to the next level. These details transform a good piece into a stunning one. Whether you are working on a chair, table, or even a small decorative item, consider how you can enhance its beauty and functionality with thoughtful finishing techniques.
Start by sanding your project thoroughly. This step is crucial for achieving a smooth and polished surface. Use a progression of sandpapers, starting with a coarser grit and gradually moving to finer ones. Be sure to follow the grain of the wood to avoid unsightly scratches. The right sanding technique will make your finish look professional and inviting, enticing viewers to run their hands over your creation.
Next, apply your chosen finish. Options range from oils and stains to paints and varnishes. Each type of finish offers a different look and feel, so choose one that complements the wood species you’re using. For a natural look, oils can enhance the grain's depth. If you want to add a pop of color, a stain might be the way to go. Always test your finish on a scrap piece of wood first to see how it interacts with the surface.
Finally, don’t forget the hardware! Selecting the right knobs, hinges, or handles can make a significant difference in the overall aesthetic of your project. Pay attention to the style and finish of the hardware, ensuring it aligns with your project's look. Installing these elements thoughtfully can turn a simple cabinet or chest into a true work of art.